
How to Fix Drywall Cracks, Nail Pops, and Water Stains Before Painting
· By Fernando Maciel
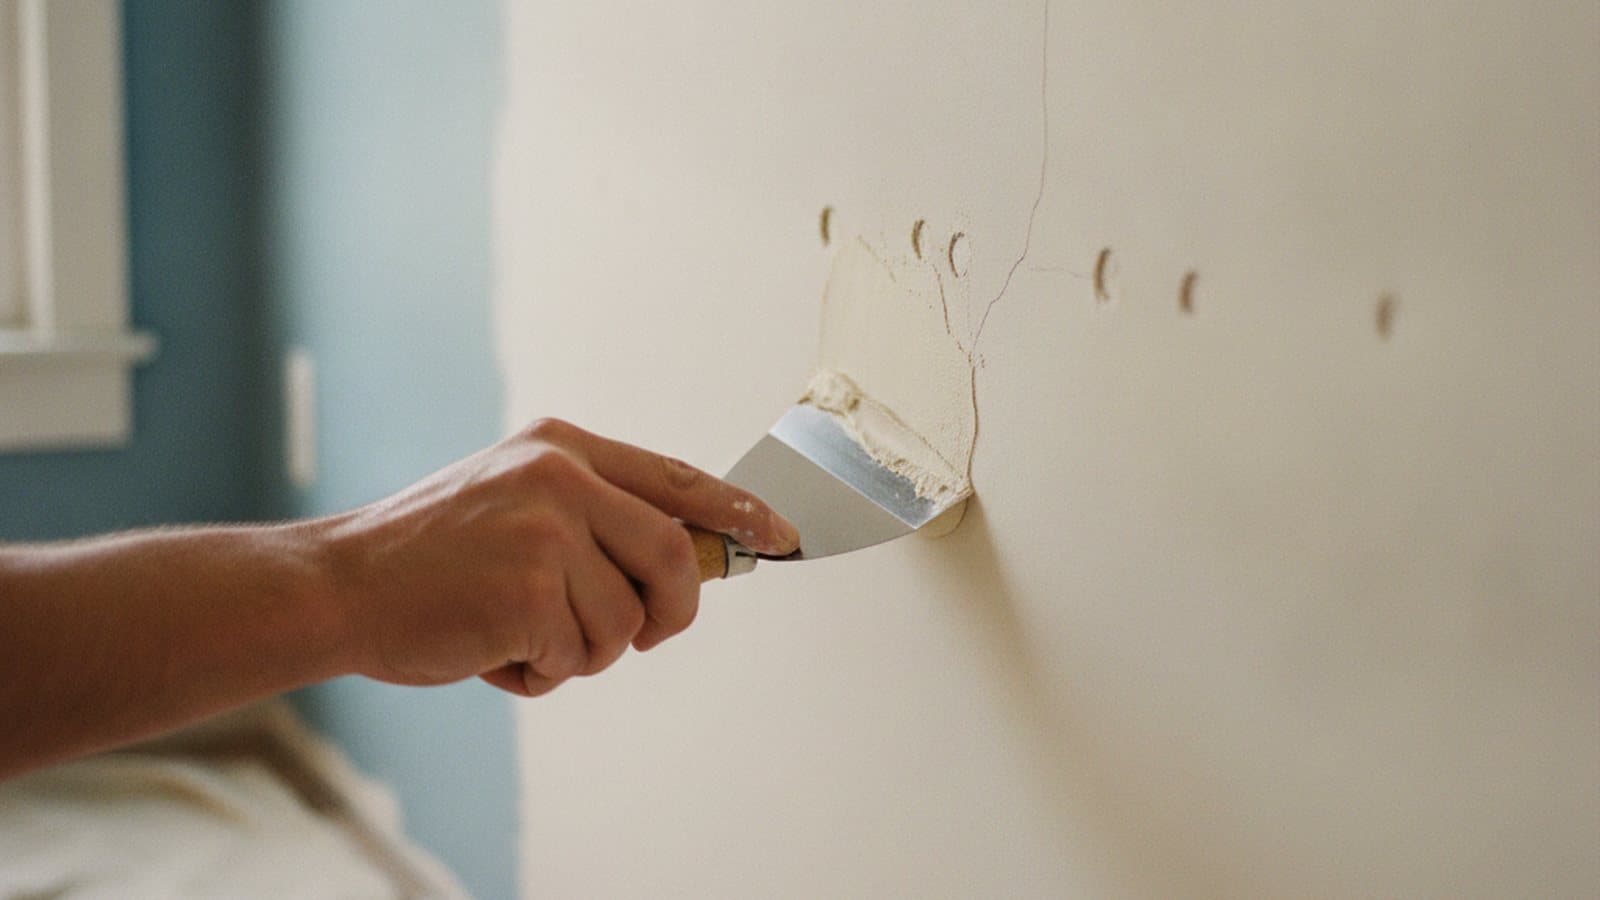
Fresh paint is unforgiving. The same clean, even coat that makes a room look new also acts like a spotlight, catching every nail pop, hairline crack, and old water stain that the tired old paint used to hide. Rolling color over those flaws does not bury them, it frames them, and you end up staring at a ring above the doorway or a bump by the light switch every time the afternoon light hits the wall.
The fix is to handle the drywall first, the right way, before a drop of finish paint goes on. This guide walks through how to diagnose each common problem, the correct repair for each one, when a flaw is a quick bundle-in versus a bigger cut-and-replace job, why water damage means fixing the source before the wall, and where do-it-yourself patches usually go wrong. It is written for homes across Marietta, Kennesaw, and the greater Atlanta area, where settling and humidity make these repairs a regular part of a good paint job.
Why fresh paint highlights every flaw
Old paint is a camouflage layer. Years of dust, slight yellowing, and an uneven sheen soften the look of small defects, so a nail pop or a thin crack blends into the general wear of the wall. A fresh, uniform coat strips all of that away. The new film reflects light evenly across the whole surface, which means any spot that sits proud, dips in, or has a different texture suddenly stands out because the light no longer breaks up around it.
Sheen makes it worse. The higher the gloss, the more the wall behaves like a mirror, and the more a poorly finished patch or an unsanded ridge will telegraph through. Even a quality flat paint will reveal a bump or a crack that was never properly filled, because paint is a coating, not a filler. It follows the shape of whatever is under it.
This is the whole reason prep matters more than the color you pick. A wall that is cleaned, patched, sanded flat, texture-matched, and primed gives the new paint a smooth, consistent surface to lay down on. Skip that, and the fresh coat simply advertises the problems you were hoping to cover, which is the single most common regret homeowners have after a rushed repaint.
Diagnosing what you are actually looking at
Nail pops show up as small round bumps or tiny cracks in a line, usually on ceilings and on walls near the top and bottom of a stud. They happen when the wood framing dries and shifts over the seasons and pushes a fastener back out toward the surface, cracking the compound over the screw or nail head. In settled Marietta homes they are one of the most common things you will find once you start looking closely.
Settling cracks have a signature location: they run from the upper corners of door and window openings, and along the seams where walls meet ceilings or corners meet. These are stress points, so as a house moves with temperature and humidity, the drywall relieves the tension by cracking in the same predictable spots. Hairline versions are cosmetic, but a crack that keeps returning after a simple fill is telling you the joint underneath needs to be reinforced, not just filled.
Doorknob holes and dings are impact damage, a clean round punch-through where a door swung into the wall, or a dent from furniture. Water stains are the different animal: a yellow, brown, or coppery ring or blotch, often on a ceiling or high on a wall, sometimes with the paper feeling soft or looking crinkled. A stain is a symptom, not the disease, and reading it correctly is what keeps the repair from failing.
Fixing nail pops so they stay gone
The wrong way to handle a nail pop is to smear compound over the bump and paint. The fastener is still loose, so the next seasonal swing pushes it right back out and the crack reopens under your new paint. The repair has to deal with the fastener, not just the cosmetic crack on top of it.
The correct approach is to relieve and refasten. That means driving a new drywall screw an inch or two above or below the popped fastener, into the same stud, set just below the surface so it dimples the paper without tearing it, which pulls the panel tight against the framing again. The old popped nail or screw is either set back below the surface or removed. With the panel secured, the small depressions get filled with joint compound in thin coats, sanded flush, and feathered out so there is no ridge.
Because a nail pop is small, it is the classic example of a repair that costs almost nothing when it is folded into a paint job that is already happening in the room. The crew is already prepping, so setting a few screws, filling, and sanding adds little time, and the spot gets primed and painted to match the rest of the wall so it disappears completely.
Patching cracks and holes: tape, mud, and coats
A true hairline settling crack that is purely cosmetic can sometimes be filled, but the durable fix for any crack that has opened or come back is to reinforce it. The crack is widened slightly into a shallow V so the compound has something to grab, then bridged with mesh or paper joint tape and covered with joint compound. Tape is what stops the crack from simply reappearing through the new mud as the house keeps moving, which is the step most quick fixes skip.
Compound goes on in coats, not one thick pass. The first coat embeds the tape, then each following coat is wider and thinner than the last, feathering the repair out over a foot or more so the built-up area blends invisibly into the flat wall. Between coats the mud has to dry fully, then get a light sanding. Trying to rush it with one heavy application gives you a lumpy, cracking mess that shows badly under paint.
Doorknob holes and other punch-throughs need backing, since there is nothing behind the hole to hold compound. A small hole gets a self-adhesive metal patch or a cut piece of drywall set into the opening; a larger one gets a fresh drywall plug fastened to backing strips. From there it is the same tape, mud in coats, dry, and sand routine. The goal every time is a repair that is flat, feathered, and ready to vanish under primer.
Sanding and matching the texture
Sanding is where a patch either disappears or gives itself away. Once the final coat of compound is dry, the repair is sanded smooth and, just as important, feathered so the edges taper down to nothing against the surrounding wall. Run your hand across it with the lights low and angled: your fingertips will catch a ridge that your eyes miss, and that ridge is exactly what fresh paint will highlight later. Fixing it now is far easier than after the color is on.
Texture is the other half. Most walls are not perfectly smooth, they have a subtle orange-peel, knockdown, or hand-troweled texture, and a dead-flat patch dropped into a textured wall reads as an obvious smooth island. The repair has to be texture-matched, usually with a spray or hand technique that mimics the surrounding pattern, so the whole area shares one continuous surface before paint.
This matching is genuinely the skilled part of drywall work, and it is why a rushed do-it-yourself patch so often stands out even when the filling was decent. Getting the texture and the feathering right is what separates a wall that looks untouched from one where you can spot every repair from across the room.
Water stains: fix the source, then stain-block
A water stain is the one repair you never treat as cosmetic. That yellow or brown ring means water reached the drywall, and before anything else you have to know whether it is still coming. Painting over an active leak just gives you a fresh stain in a few weeks, on top of paint you already paid for. The rule is simple: fix the source first, whether that is a roof issue, a plumbing leak, or condensation, and confirm the area is fully dry.
Once the source is handled and the drywall is dry and structurally sound, the stain still cannot just be painted over with regular paint. Those tannins and mineral deposits bleed straight through latex, so a fresh coat will look clean for a day and then the ring ghosts back through. The area needs a dedicated stain-blocking primer, which seals the discoloration so it cannot migrate up into the finish paint.
If the water actually damaged the drywall, if the paper is peeling, the panel is soft, crumbling, or sagging, priming is not enough. That section has to be cut out and replaced with new drywall, then taped, mudded in coats, sanded, textured, and primed like any other patch. Sound-but-stained gets stain-blocked; compromised drywall gets replaced. Reading that difference correctly is what makes the repair last.
Small bundle-in versus a bigger cut-and-replace job
Most of what a paint job turns up is the small, inexpensive kind: a handful of nail pops, a few hairline cracks over the doorways, a doorknob ding, some picture-hanger holes. Because the crew is already in the room cleaning, masking, and prepping, folding these repairs in adds very little to the overall project, and every one of them gets primed and painted to match so nothing is left behind.
The bigger jobs are the ones with more steps. Cutting out a damaged section, fitting a new piece of drywall, taping, building up several coats of compound with drying time between each, then sanding and texture-matching is real labor, and it costs more because it takes more time and materials. Long recurring cracks that need proper reinforcement and water-damaged panels that have to be replaced fall into this category.
The honest way to know which bucket your walls fall into is to have them looked at, not to guess from a photo alone. As a general rule, if it is a bump, a ding, or a thin line, it is a cheap bundle-in; if the drywall is broken, soft, or the crack keeps coming back, plan for a bit more. Either way, scoping the repairs together with the paint gives you one clear, itemized estimate instead of surprises mid-project.
DIY pitfalls and why doing it with the paint job is smarter
The most common do-it-yourself failure is patch telegraphing, where the repair shows through the finished paint as a visible ring, bump, or dull spot. It comes from a few predictable mistakes: one thick glob of compound instead of thin feathered coats, not sanding the edges down to nothing, forgetting to tape a crack so it reopens, dropping a smooth patch into a textured wall, and skipping primer over the bare compound.
That last one causes flashing, and it surprises people. Bare joint compound is porous and drinks up paint differently than the sealed wall around it, so even a perfectly sanded patch shows up as a duller, slightly different-looking spot once the color is on, because the sheen does not match. Priming the repair first is what evens out that absorption so the finish coat looks uniform across the whole wall. Skip it and the patch flashes every time.
This is exactly why handling the drywall as part of the paint job is the efficient path. The same crew is already there with the tools, the compound, the primer, and the exact paint, so repairs get feathered, texture-matched, primed, and top-coated in one continuous, coordinated process instead of a separate trip that risks a mismatch. You point out every crack, hole, and stain up front, it all gets scoped into one estimate, and the wall finishes looking like the damage was never there. For homeowners across Marietta and Kennesaw, that is the difference between a repaint that looks new and one that quietly shows its seams.
Frequently asked questions
- Do I really need to fix drywall before painting?
- Yes. Fresh paint is a coating, not a filler, so it follows the shape of whatever is under it and actually highlights nail pops, cracks, and stains rather than hiding them. Repairing and priming first is what lets the new coat lay down smooth and even, so the wall looks genuinely new.
- How do I stop a nail pop from coming back?
- A nail pop keeps returning if you only fill the bump. The lasting fix is to drive a new drywall screw into the same stud an inch or two away to pull the panel tight to the framing, set or remove the popped fastener, then fill and sand the spots flat. Dealing with the loose fastener, not just the cosmetic crack, is what keeps it gone.
- Can I just paint over a water stain?
- No. First find and fix the source of the water and let the area dry fully, since painting over an active leak just brings the stain back. Even on dry, sound drywall the discoloration bleeds through regular paint, so it needs a dedicated stain-blocking primer before the finish coat. If the drywall is soft or crumbling, that section has to be cut out and replaced.
- Why does my old drywall patch show through the new paint?
- That is usually telegraphing or flashing. It happens when the patch was not feathered and sanded flat, was not texture-matched to the surrounding wall, or was painted without primer over the bare compound. Bare compound absorbs paint differently than the wall around it, so the spot looks duller. A proper repair is built up in thin coats, sanded flat, texture-matched, and primed so it disappears.
- Is it cheaper to fix drywall during a paint job?
- Usually, yes. When the crew is already prepping and painting the room, folding in small repairs like nail pops, cracks, and dings adds little to the overall cost, and each patch gets primed and painted to match with no dull spots left behind. Bigger cut-and-replace jobs cost more, but bundling them still avoids a separate trip and a mismatched finish.
Related services
Serving
Ready for an exact price?
Get a free, no-pressure in-home estimate. Real numbers for your home, not a phone guess.