
Painting Trim, Doors, and Baseboards: A Homeowner Guide
· By Fernando Maciel
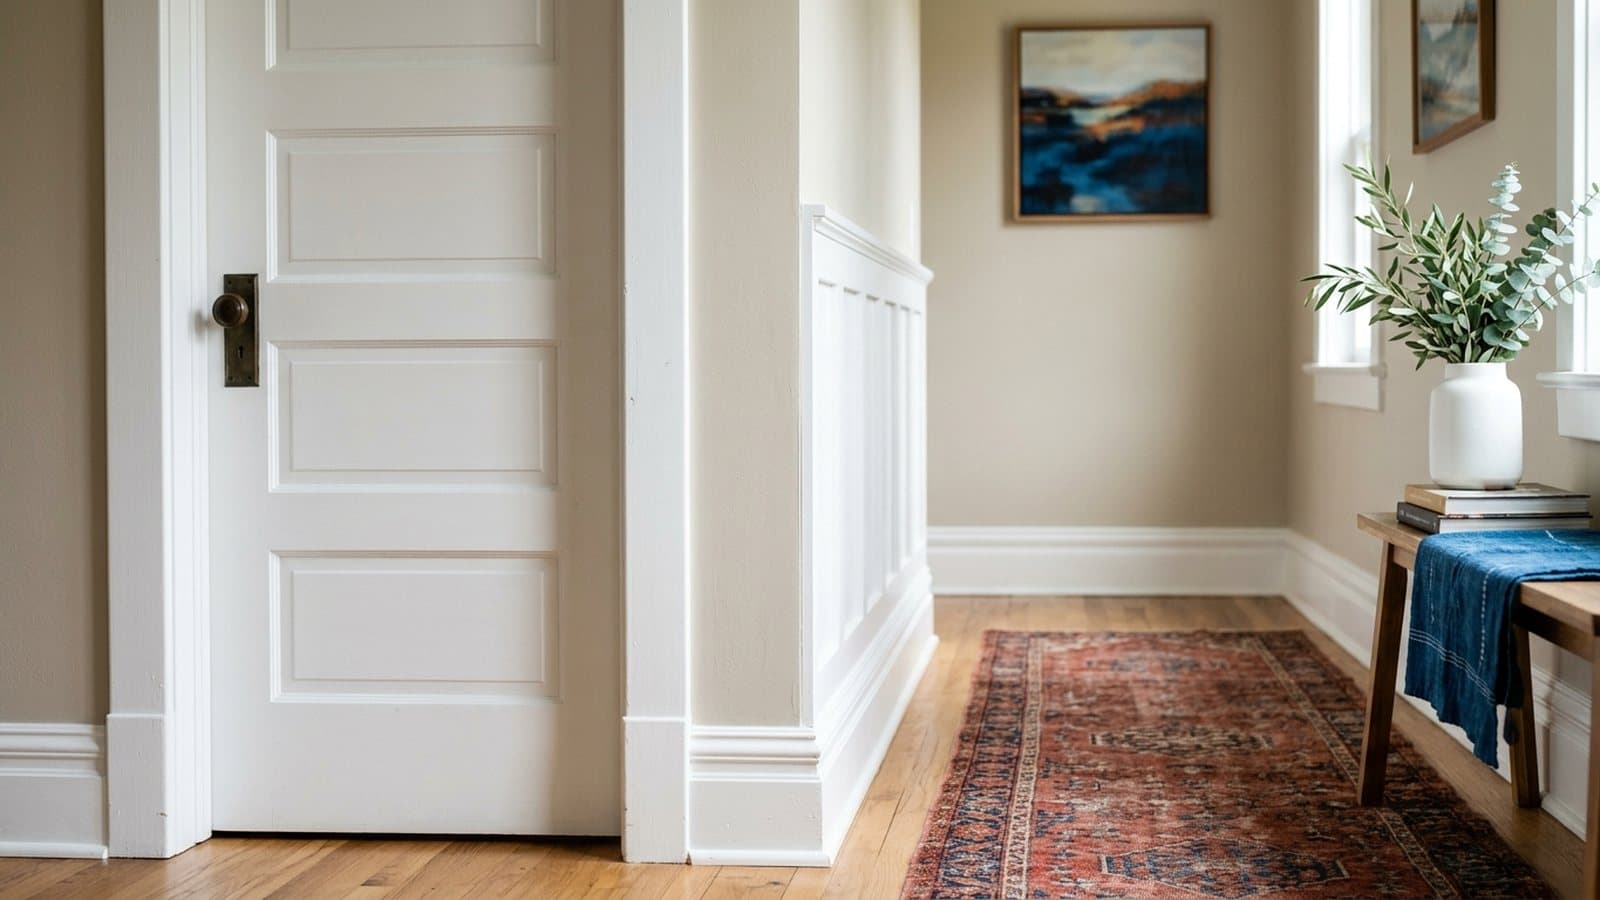
Trim is the frame around everything you see in a room, so when it looks tired, the whole space looks tired with it. Fresh paint on baseboards, door casings, window trim, and doors is one of the highest-impact changes you can make, and it often costs far less than a full room repaint because you are covering a fraction of the surface. Sharp, clean trim reads as care, and it makes even older walls look intentional.
The catch is that trim is unforgiving. It sits at eye level, catches side light, and gets touched, kicked, and scrubbed more than any wall in the house. A trim job that skips prep will telegraph every brush mark, drip, and peeling edge. This guide walks through the switch many homeowners make from stained honey-oak to crisp white, the prep that actually makes paint stick, the right finish to choose, and the step-by-step for doors and baseboards so your work holds up for years.
Why fresh trim transforms a room
Trim outlines the architecture of a room. Baseboards ground the walls, casings frame the doors and windows, and crown molding caps the ceiling line. When all of that is crisp and consistent, your eye reads the space as finished and cohesive. When it is chipped, yellowed, or a dated color, it quietly drags everything else down no matter how nice the wall color is.
Because trim is such a small share of the total surface, refreshing it delivers an outsized return on your time and paint. You can leave the wall color exactly as it is and still make a room feel newer just by painting the woodwork. For many homeowners in Marietta and Roswell, this is the fastest way to modernize a room that otherwise feels stuck in an older decade.
Trim also sets contrast. Bright white trim against a colored or gray wall creates clean lines that make ceilings feel taller and rooms feel more open. That contrast is the reason the switch away from stained wood tone toward painted white has stayed so popular in updated homes.
The switch from honey-oak to crisp white
A lot of homes across the Atlanta metro were built with orange-toned honey-oak or stained trim that now feels dated. Painting it a clean white or soft off-white is one of the most requested updates we hear about, and it genuinely transforms a room. The problem is that oak and factory-stained trim are almost always sealed with a slick, glossy topcoat, and paint will not bond to a slick surface on its own. Skip the prep and the new paint peels off in sheets within a year.
The sequence that makes it stick is clean, de-gloss, then prime. First wash the trim with a degreaser to strip off hand oils, cooking film, and dust, then rinse and let it dry. Next de-gloss the surface, either by sanding it dull with fine sandpaper or using a liquid deglosser, so the primer has texture to grip. Wipe away all the sanding dust with a tack cloth before you go further.
Then prime with a quality bonding or stain-blocking primer. This step does two jobs: it gives the topcoat a surface it can actually adhere to, and it seals in the tannins in oak that would otherwise bleed through and leave yellow or brown stains in your fresh white. Oak also has deep, open grain, so if you want a smooth glass-like finish you may need a light coat of grain filler or an extra primer coat sanded between passes. Only after the primer is dry and dull do you apply your finish coats.
Choosing the best finish for trim
Trim takes abuse that walls never see, so it needs a tougher paint and a higher sheen. Semi-gloss is the long-standing favorite for trim, doors, and baseboards because the harder, glossier film wipes clean, resists scuffs and fingerprints, and holds up to repeated cleaning. That durability is exactly what you want on a surface that gets bumped by shoes, furniture, and vacuum cleaners.
Satin is a reasonable middle ground if you prefer a softer look with a little less shine, and it still cleans up better than a flat wall paint. What you generally want to avoid on trim is a true flat or matte finish, because it marks easily and cannot be scrubbed without burnishing. The higher the sheen, the more durable and washable the surface, though very high gloss will also highlight any imperfection in your prep.
One practical note: higher sheen shows brush marks and dust more than a flat wall paint does, so the smoothness of your finish depends heavily on clean surfaces, good tools, and a quality enamel that levels out as it dries. This is a place where the paint you choose matters as much as the color.
Prep and caulk for sharp, clean lines
Sharp lines are made in the prep, not the painting. Start by scraping any loose or flaking paint, then sand the whole surface so the new coat has a dull, uniform base to grip. Fill nail holes, dents, and gouges with a paintable wood filler, let it cure, and sand it flush. Skipping these steps means every flaw stays visible under a glossy finish that actually magnifies it.
Caulk is what separates an amateur trim job from a professional one. Over time, gaps open up where baseboards meet the wall and where casings meet the drywall, and those dark shadow lines make even fresh paint look sloppy. Run a thin, even bead of paintable acrylic-latex caulk along those seams, then smooth it with a damp finger or tool so it disappears into the joint. Let it cure before painting.
For crisp edges against the wall, high-quality painters tape helps, but the real trick is sealing the tape edge. Press the tape down firmly, then run a thin pass of the wall color or a bit of caulk over the edge first so any bleed is invisible, and pull the tape while the paint is still slightly wet to avoid tearing a dried film. Many experienced painters skip tape entirely and cut a clean line freehand with a good angled brush, but a sealed tape line is the reliable route for a homeowner.
How to paint interior doors without drips
Doors are the trickiest trim piece because the large flat surfaces love to collect drips and runs. Start by removing the hardware rather than taping around it. Take off the knob, latch plate, and hinges if you can, or at least the knob and plates, so you are not cutting around them and leaving a ragged edge. If you can lift the door off its hinges and lay it flat on sawhorses, gravity stops working against you and drips become far less likely.
Panel doors need to be painted in the right order so wet edges do not dry into visible lap marks. Do the recessed panels first, including the profiled edges around each panel, then the vertical center stiles, then the horizontal rails between the panels, and finally the outer vertical stiles and the top and bottom edges. Working in that sequence lets you smooth away any paint that pools in the corners before it sets.
The cure for drips is thin coats, not one thick one. Load the brush or roller lightly, spread the paint out, and immediately tip it off with light brush strokes in the direction of the grain to level it. Two thin coats always look better and last longer than one heavy coat, and they dry faster with fewer runs. Check the surface with side light after each coat so you catch a sag while it is still wet enough to fix.
Baseboards, crown, and the right order of work
Baseboards live in the splash zone. They collect dust, scuffs from shoes and vacuums, and moisture from mopping, so they benefit most from that durable semi-gloss finish and careful caulking along the top edge where they meet the wall and the bottom edge where they meet the floor. Mask the floor with tape and paper or a wide taping knife to keep paint off carpet, hardwood, or tile, and pull dust out of the corners before you start.
Crown molding is the opposite challenge: it is up high, hard to reach, and every drip lands on the wall or your face. Cut in carefully where the crown meets the ceiling and the wall, and keep a rag handy. Because crown is above eye level and does not get touched, some homeowners choose a slightly lower sheen there than on baseboards, though matching all the trim to one consistent finish usually looks cleanest.
The order-of-work question people ask most is whether to paint trim before or after the walls. A common and forgiving approach is to paint the trim first, let it fully cure, then tape off the trim and paint the walls up to it. It is generally easier to cut a wall color down onto taped trim than to cut trim up against a finished wall. Either sequence can work, but doing the woodwork first and the walls second tends to give a homeowner the cleanest result.
Common DIY mistakes and how long the work lasts
The number one mistake is painting glossy oak or previously finished trim without de-glossing and priming. It looks fine for a few weeks, then the paint peels at every touch point because it never bonded. The second most common miss is skipping the caulk, which leaves shadow gaps that make fresh paint look unfinished. Close behind those are loading the brush too heavy and getting drips, rushing the second coat before the first has dried, and using a cheap flat paint that cannot be cleaned.
Another quiet mistake is poor dust control. Because trim paint has a sheen, any dust, pet hair, or grit that lands in the wet coat stays visible and rough forever. Vacuum and wipe the surfaces, keep the room clean, and let each coat dry undisturbed. Good tools matter here too: a quality angled sash brush and a smooth foam or microfiber mini-roller make a noticeable difference in how the finish levels out.
Done properly, painted trim is durable and lasts many years before it needs anything more than an occasional wipe-down or a small touch-up. The prep is what buys that longevity. A rushed job may look acceptable on day one but starts chipping and peeling within a season, while clean, de-glossed, primed, and properly cured trim keeps its crisp edges and clean lines for a long time. If the prep feels like more than you want to take on, or you are staring at a whole house of glossy oak, it is often worth having it done right the first time.
Frequently asked questions
- Do I have to prime honey-oak or stained trim before painting it white?
- Yes. Oak and factory-stained trim are sealed with a slick, glossy coat that paint will not bond to on its own, and oak also has tannins that bleed through white paint. Clean, de-gloss by sanding or with a liquid deglosser, then apply a quality bonding or stain-blocking primer before your finish coats. Skipping this is the top reason trim paint peels.
- What is the best paint finish for trim, doors, and baseboards?
- Semi-gloss is the long-standing favorite because its harder, glossier film wipes clean and resists scuffs and fingerprints on surfaces that get touched constantly. Satin works if you want a little less shine. Avoid a true flat or matte finish on trim, since it marks easily and cannot be scrubbed clean.
- Should I paint the trim before or after the walls?
- A common and forgiving approach is to paint the trim first, let it cure, then tape it off and paint the walls up to it. It is usually easier to cut a wall color down onto taped trim than to cut fresh trim against a finished wall. Either order can work, but doing the woodwork first tends to give the cleanest result.
- How do I avoid drips when painting a door?
- Remove the hardware, and if possible take the door off its hinges and lay it flat so gravity is not pulling paint down. Paint panel doors in order: recessed panels first, then the center vertical stiles, then the horizontal rails, then the outer stiles and edges. Use two thin coats instead of one thick one, and tip off each pass with light strokes to level the paint.
- How long does painted trim last?
- Done properly, painted trim lasts many years and usually needs only an occasional wipe-down or small touch-up. Longevity comes from the prep: clean, de-glossed, primed, and fully cured trim holds its crisp lines for a long time, while a rushed job that skips those steps can start chipping and peeling within a season. For an accurate assessment of your trim, a free in-home estimate is the best next step.
Related services
Serving
Ready for an exact price?
Get a free, no-pressure in-home estimate. Real numbers for your home, not a phone guess.