
Refreshing Your Home Interior Room by Room in Marietta, GA
· By Fernando Maciel
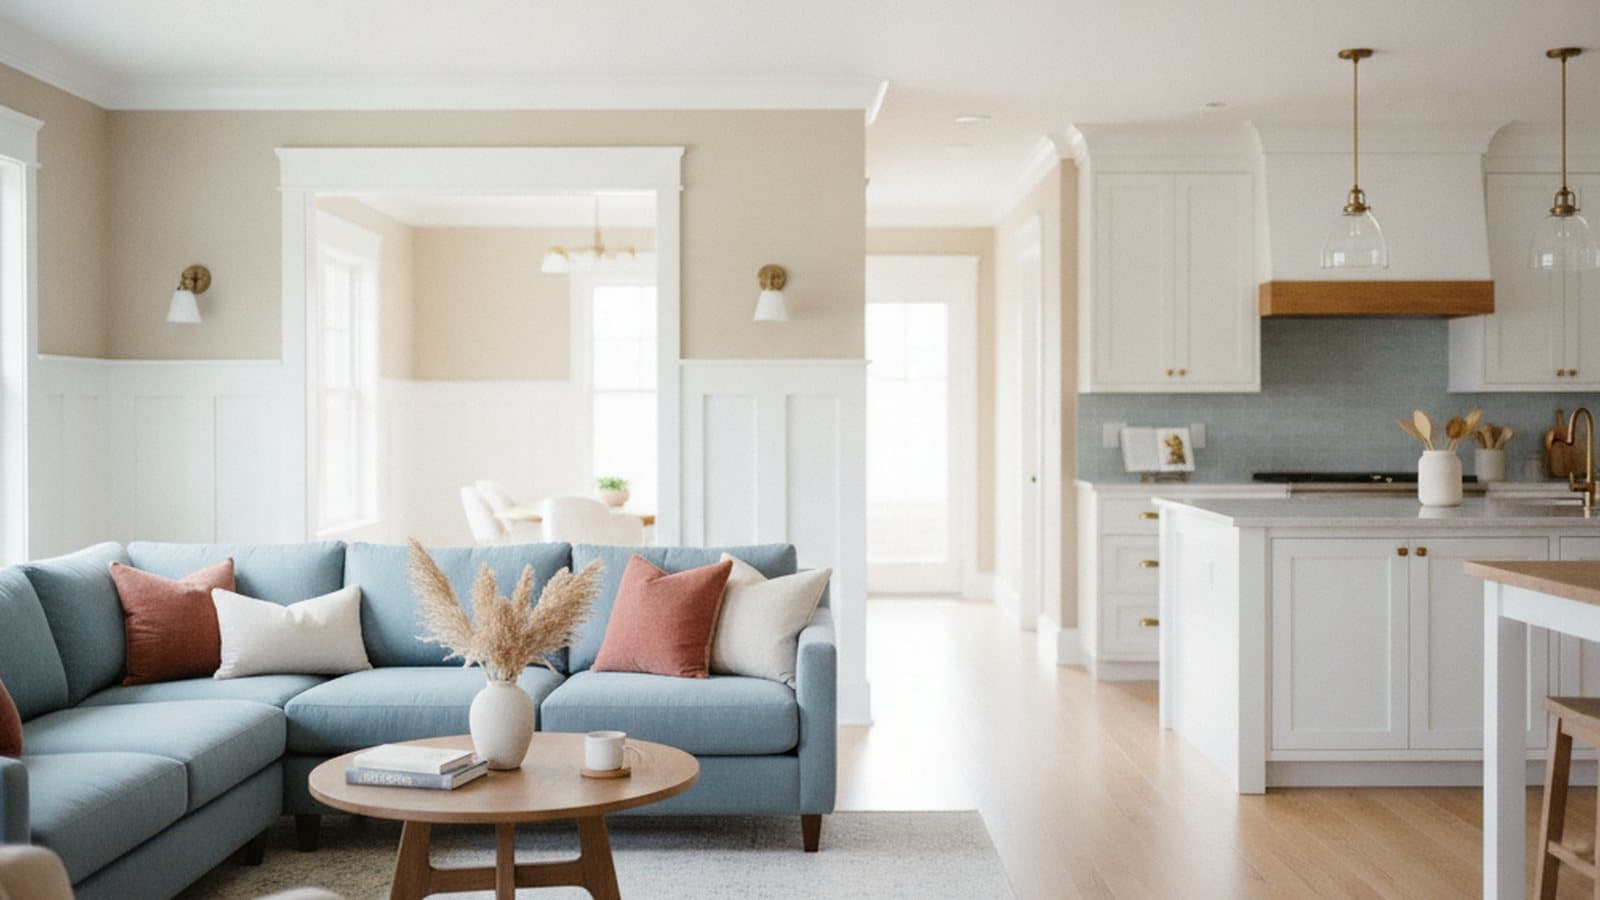
A dated interior does not always call for demolition. In a lot of Marietta and greater Atlanta homes, the bones are perfectly good and the layout works fine. What actually feels tired is the color on the walls, the finish on the cabinets, and a handful of cracks and scuffs that have piled up over the years. Fix those and the whole house reads new again.
This guide walks you through refreshing a home interior room by room: walls, ceilings, trim, cabinets, and drywall repair, without gutting anything. You will see how to plan and sequence the work, the prep that makes it last in Georgia humidity, what to do in each room, and how to get a real estimate instead of a guess.
Why an interior refresh beats a costly remodel for many homes
A full gut remodel makes sense when the layout genuinely does not work or systems are failing behind the walls. For most homeowners, though, the problem is cosmetic, not structural. The kitchen island is fine, the floor plan is fine, the cabinets open and close: the space just looks stuck a decade in the past. A refresh targets exactly that, at a small share of what tearing everything out would cost.
The cost gap is real. Repainting the main living spaces, refinishing the kitchen cabinets, and patching the drywall that needs it typically runs a fraction of a full remodel, because you are updating surfaces instead of buying and installing all-new materials. The exact number depends on your home, so treat any figure online as a ballpark and get an in-home estimate for a real one.
A refresh is also less disruptive. There is no dumpster in the driveway, no weeks of a kitchen you cannot use, and no cascade of plumbing and electrical work triggered by moving walls. You get a dramatic visual change on a predictable timeline, and you keep living in your home while it happens.
How to plan and sequence the work
Start with a walk-through of your own house and a notepad. Go room by room and write down what actually bothers you: the color, the sheen, scuffed hallways, a yellowed kitchen ceiling, cracks over the doorways, cabinets that look dated. Separating cosmetic gripes from real damage up front keeps the project focused and the estimate accurate.
Sequence matters more than people expect. The reliable order is top down and dirty work first: drywall repair, then ceilings, then walls, then trim, and cabinets slotted in where they fit. Doing drywall and ceilings before walls means any dust and patching happens before the finish coats go on, so nothing nice gets ruined. Painting trim after walls gives the cleanest lines.
You do not have to do the whole house at once. Many Marietta homeowners phase it: the high-visibility spaces first (main living area, kitchen, entry), then bedrooms and secondary rooms later. Bundling several rooms into one visit is usually the better value per room, since setup, masking, and cleanup get spread across the project instead of repeated on separate trips. An itemized estimate lets you decide what to do now and what can wait.
The prep that makes a refresh last (the Georgia humidity angle)
Prep is the quiet reason a refresh either looks new for years or starts failing in months. That means cleaning and degreasing surfaces, patching cracks and holes, sanding glossy or rough spots, and priming any bare or repaired areas before a finish coat goes on. Paint laid over a clean, stable, primed surface bonds properly and stays even. Paint rolled over dirty or glossy walls is what peels, cracks, and flashes early.
Georgia humidity raises the stakes. Warm, damp air is hard on interior finishes, especially in kitchens, bathrooms, and laundry rooms where steam and moisture collect. In those spaces the right coating matters: a washable, moisture-tolerant finish resists mildew and scrubbing far better than a basic flat paint, and it holds up through Atlanta summers instead of going dingy.
Humidity also affects timing. Compound and paint need to cure between coats, and rushing that in a damp room invites problems down the line. Good ventilation, proper dry times, and the right product for each room are what separate a finish that lasts from one that looks tired again in a year or two.
Living areas, bedrooms, hallways, and stairwells
Living areas set the tone for the whole house, so they are usually the place to start. A fresh, current wall color plus clean, crisp trim instantly modernizes a room, and open-concept spaces with two-story foyers get an outsized payoff since the walls are large and visible. Those tall foyer and stairwell walls need the reach and prep that come with height, so they take a bit more work than a standard room.
Bedrooms are the simplest and most affordable rooms to refresh. The walls are straightforward, the ceilings are a normal height, and a new color completely changes how the room feels. They are a natural fit for a later phase if you are spreading the project out, since they are private and lower-traffic.
Hallways and stairwells take the most abuse of any interior space: handprints, scuffs, dragged furniture, and constant traffic. When marks stop wiping clean, the finish has worn thin. Repainting these areas with a more durable, washable finish is one of the highest-impact refresh moves, because it is the paint everyone brushes past every single day.
The kitchen: cabinet refinishing changes everything
In most kitchens, the cabinets are what read as dated, not the layout. That is why cabinet refinishing is the centerpiece of a kitchen refresh. Painting existing cabinets is typically a fraction of the cost of replacement, because you are refinishing solid boxes instead of buying and installing all-new cabinetry, and it delivers a dramatic before-and-after for the money.
Done right, cabinet painting is a real process, not a quick coat. It means cleaning and degreasing every surface (kitchens build up grease you cannot always see), sanding to give the finish something to grip, priming, and applying a durable cabinet-grade finish that stands up to daily use. Skip those steps and the finish chips at the handles within months. The prep is exactly what makes a painted cabinet look factory-smooth and last.
Refinishing keeps your layout and box construction and changes the color, sheen, and feel. If your cabinet boxes are solid and the layout works, it is usually the smarter money. If the boxes are water damaged, warping, or falling apart, replacement is the better call, and an honest walk-through will tell you which camp your kitchen is in. Pair fresh cabinets with a repainted ceiling and walls and the room looks remodeled without the remodel.
Bathrooms and ceilings
Bathrooms are small but punch above their weight in a refresh, and they are the hardest room on paint. Steam, moisture, and frequent cleaning break finishes down fast, so this is a place where product choice is not optional. A moisture-tolerant, washable finish resists mildew and holds up to the humidity that Georgia bathrooms deal with year-round. Before any color goes on, any peeling or bubbling has to be addressed, since that is almost always a moisture signal.
Ceilings are the most overlooked surface in the house, and a dingy ceiling quietly drags down an otherwise fresh room. Kitchen ceilings yellow from cooking, bathroom ceilings can spot from steam, and settling can leave hairline cracks. Because nothing touches a ceiling, it often goes the longest between coats, which is exactly why a fresh, clean white overhead makes such a noticeable difference when you finally do it.
The sequencing point matters most here: ceilings get painted before walls. Doing the ceiling first means any spatter lands on walls that are about to be repainted anyway, keeping the finished wall color clean. It is a small ordering detail that separates a tidy refresh from a splotchy one.
When drywall repair is part of the picture
Fresh paint shows every flaw underneath it, so drywall repair is often the unsung step that makes a refresh look genuinely new. Common issues in settled Marietta homes include nail pops, hairline cracks over doorways and at corners, doorknob dings, and old water stains from a leak that has since been fixed. Painting over these without repairing them just highlights them under a clean coat.
Small repairs are usually inexpensive, especially bundled into a paint project that is already happening in the room. Since the crew is already prepping and painting, folding in a few nail pops and cracks adds little. Bigger jobs, like cutting out a damaged section, taping, applying several coats of compound with dry time between them, and texturing to match, cost more because they take more steps. Water damage adds a step too: the moisture source has to be handled first or the repair will not last.
The part that takes skill is blending. A patch has to be feathered, sanded, textured to match the surrounding wall, and primed so it disappears under paint. A rushed patch telegraphs through as a visible ring or bump later. Scoping the drywall repair and the paint together gives you one clear estimate and a wall that looks like the damage was never there.
Color, finish, cost expectations, and getting an estimate
On color, most refresh projects lean toward warm, current neutrals in the main living spaces, because they make rooms feel larger, brighter, and more timeless, and they show well if you ever sell. Finish is just as important as color: flatter sheens hide wall imperfections and suit low-traffic rooms, while washable satin or semi-gloss belongs in kitchens, bathrooms, hallways, and on trim and doors, where you need to wipe things clean. Matching the finish to how a room gets used is what makes the refresh practical, not just pretty.
On cost, be realistic and skeptical of any firm number quoted before someone has seen your home. A full-home refresh (paint, cabinet refinishing, and the drywall repair that goes with it) typically lands at a small share of what a full remodel would run, but the real figure depends on square footage, ceiling height, wall condition, how many rooms, and the finishes you choose. The honest answer is to send photos or book a walk-through for a number you can actually plan around.
When you are ready, a reliable estimate is itemized: it separates drywall repair, prep, primer, paint, and cabinet work so you can see what you are paying for and decide what to phase. Point out every crack, stain, and tired cabinet up front so the whole scope gets captured in one quote. Maciel Painting serves Marietta and the surrounding Atlanta area, and a quick in-home look is the only way to turn a ballpark into a price you can count on. Exterior work is available by request, but the interior refresh is where a home like yours gets the biggest visible change for the money.
Frequently asked questions
- Is an interior refresh really cheaper than remodeling?
- For most homes, yes, and by a wide margin. Repainting walls and ceilings, refinishing cabinets, and patching drywall updates the surfaces that actually look dated, typically at a fraction of a full remodel that tears out and replaces materials. The exact savings depend on your home, so an in-home estimate gives the real number.
- What order should I do the work in?
- Work top down and dirty work first: drywall repair, then ceilings, then walls, then trim, with cabinets slotted in where they fit. That way patching and dust happen before the finish coats, ceiling spatter lands on walls about to be painted anyway, and trim gets the cleanest lines last.
- Can I refresh my home one room at a time?
- Absolutely. Many homeowners phase it, starting with high-visibility spaces like the main living area, kitchen, and entry, then handling bedrooms later. Bundling several rooms into one visit is usually the better value per room, and an itemized estimate lets you decide what to do now and what can wait.
- Should I paint my kitchen cabinets or replace them?
- If the cabinet boxes are solid and the layout works, refinishing is usually the smarter money, since painting is typically a fraction of the cost of replacement and delivers a dramatic change. If the boxes are water damaged, warped, or falling apart, replacement is the better call. A quick walk-through will tell you which fits your kitchen.
- Do I need drywall repair before painting?
- Often, yes. Fresh paint highlights nail pops, cracks, dings, and old stains, so repairing them first is what makes the finish look genuinely new. Small fixes bundled into a paint job add little, and each patch should be feathered, sanded, textured to match, and primed so it disappears under the paint.
Related services
Serving
Ready for an exact price?
Get a free, no-pressure in-home estimate. Real numbers for your home, not a phone guess.