
How to Update a Dated Kitchen Without a Full Remodel
· By Fernando Maciel
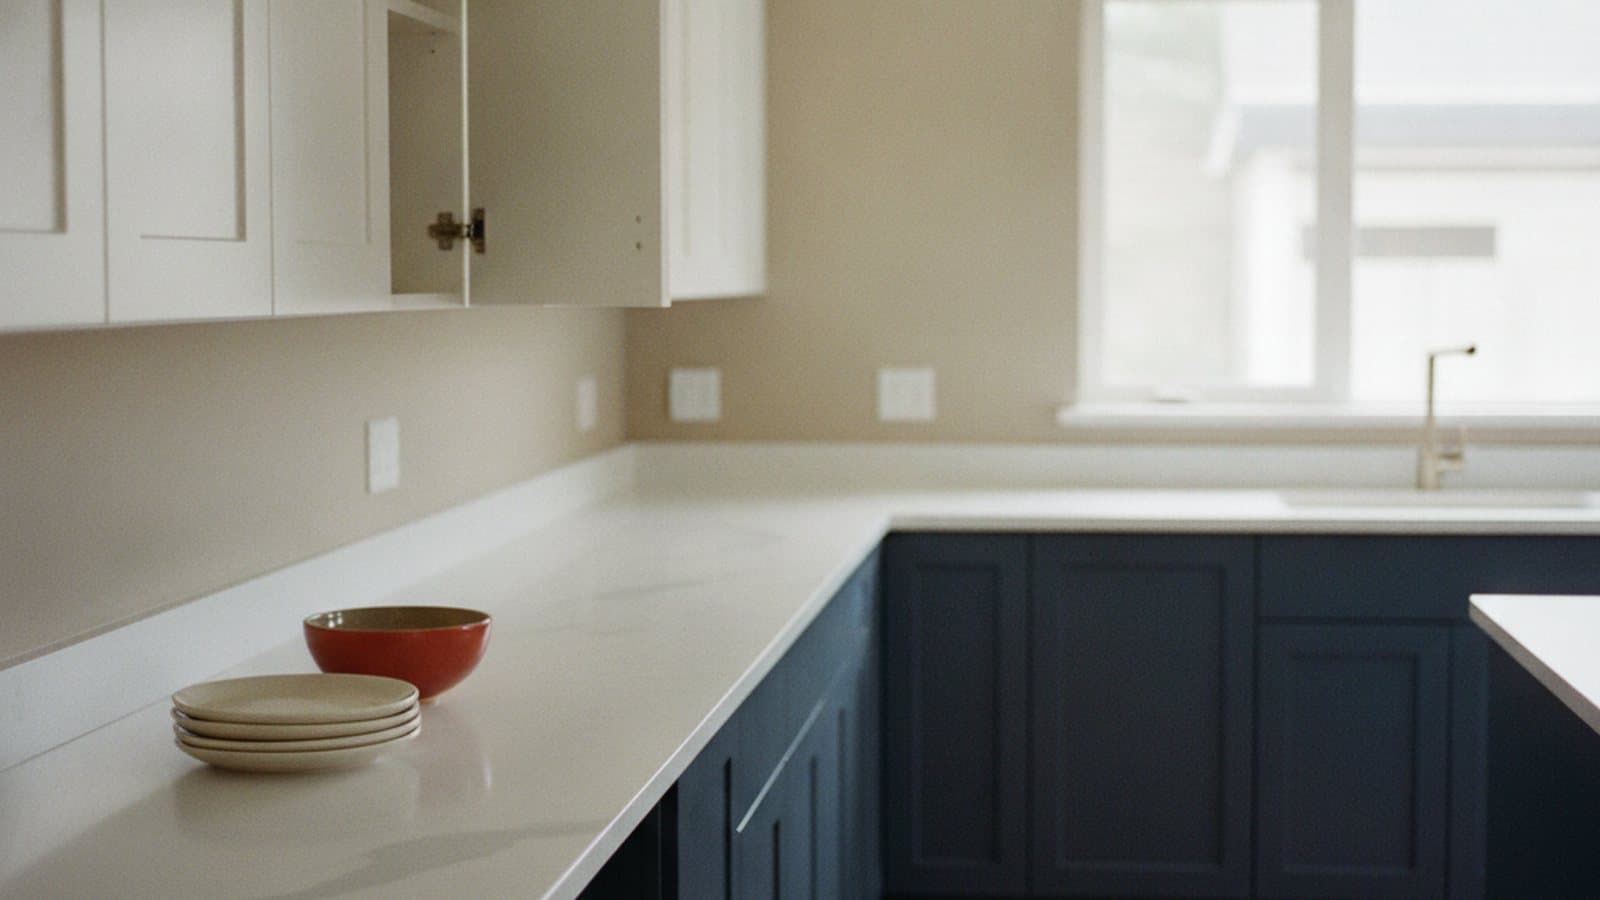
A kitchen can feel dated long before anything in it stops working. The cabinet boxes are solid, the drawers still glide, and the layout is fine for how you cook, but the finish reads as tired, the wall color is a decade behind, and the whole room feels heavier than it should. That gap between a functional kitchen and a fresh one is exactly where a smart refresh beats a full remodel.
This guide walks through how to modernize a dated kitchen in the Marietta area without gutting it: refinishing the cabinets you already have, updating the walls, trim, and ceiling to complete the look, and fixing the drywall issues that hide behind old cabinets. It covers the real cost and disruption difference, how the work is actually done, and how to think about durability in a humid Georgia kitchen.
Refresh vs. remodel: the real cost and disruption gap
A full kitchen remodel tears everything out: cabinets, countertops, sometimes flooring and walls, with plumbing and electrical moved to suit a new layout. That means demolition, a dumpster, permits in some cases, and a kitchen you cannot use for weeks. The budget climbs fast once new cabinetry, counters, and installation labor stack up, and the timeline stretches because each trade has to wait its turn.
A refresh keeps the bones and changes the surfaces. Cabinet boxes stay put, so there is no demolition and no dumpster. The heavy lifting is refinishing what is there and repainting the room around it, which is a far smaller share of what a gut remodel typically runs in the greater Atlanta area. These are market-typical patterns rather than a fixed price, and the only way to pin down your number is an in-home look, but the direction is consistent: a refresh delivers most of the visual change for a fraction of the spend.
Disruption is the other half of the math. A remodel takes over your home; a cabinet-and-paint refresh is usually measured in days, and you often keep partial use of the kitchen while the work moves in stages. For a homeowner whose real complaint is how the kitchen looks, not how it functions, that trade is hard to beat.
When a refresh is the right call (and when it is not)
A refresh makes sense when the cabinet boxes are structurally sound, the doors and drawers still work, and the layout fits how you actually use the space. If your main frustrations are a dark or dated cabinet color, yellowed walls, scuffed trim, and a room that just feels old, refinishing and repainting solves the real problem without touching the things that are fine.
It is the wrong call when the cabinets themselves are failing. Warped or delaminating boxes, water-swollen particleboard, broken frames, or a layout that genuinely does not work for how you cook are problems paint cannot fix. In those cases the money is better spent on replacement, because refinishing failing cabinets only delays the inevitable.
A quick self-check helps. Open and close a few doors and drawers, look for soft or swollen spots along the base cabinets near the sink and dishwasher, and ask whether you would keep the current layout if everything looked brand new. If the boxes are solid and the layout works, a refresh is very likely the smarter money.
How cabinet refinishing actually works
Done properly, cabinet refinishing is a process, not a quick coat of wall paint. The doors, drawer fronts, and hardware come off first and get labeled so everything goes back exactly where it belongs. That alone separates a lasting job from a sloppy one, because painting doors on their hinges leaves drips, misses edges, and traps the hardware under paint.
Next comes the prep that makes or breaks the finish. Kitchen cabinets carry years of cooking grease, so every surface is thoroughly degreased and cleaned, then scuff-sanded so the new coating has something to grip. Bare or damaged spots are filled and sanded smooth, and a quality bonding primer goes down to lock everything in. Skipping the degrease and sand is the single most common reason a painted cabinet chips or peels within months.
The finish coats are where the factory-smooth look comes from. A cabinet-grade coating is sprayed rather than brushed so it lays down even, with no brush marks or roller texture, and it is applied in thin, controlled coats with proper dry time between them. The doors and drawers are finished off the cabinet, usually in a controlled area, then reinstalled with the original or new hardware once everything has cured. The result reads like new cabinetry, not painted-over old ones.
Choosing cabinet colors and sheens that age well
Color choice is where a refresh either modernizes the kitchen or dates it again in two years. Warm and soft whites, greiges, and muted deep greens and blues have staying power because they read as intentional rather than trendy. A common approach that photographs and lives well is a lighter perimeter with a contrasting island or lower run, which adds depth without committing the whole room to a bold color.
Sheen matters as much as color in a kitchen. A flat finish shows every fingerprint and cannot be scrubbed, while a high gloss magnifies every imperfection in the surface. A satin or semi-gloss cabinet-grade finish is the practical middle: it wipes clean, stands up to daily handling around handles and the sink, and gives a subtle, furniture-like sheen that hides minor flaws.
It also pays to test before you commit. Cabinet colors shift under kitchen lighting and against your countertops and backsplash, and Georgia daylight through a west-facing window can pull a cool white warm by late afternoon. Looking at samples on the actual doors, at different times of day, prevents the most common regret: a color that looked perfect on a chip and wrong on the wall.
Updating walls, trim, and ceiling to complete the look
Refinished cabinets against tired walls only tell half the story. To make a kitchen feel genuinely updated, the walls, trim, ceiling, and doors need to move with the cabinets. Freshly painted cabinets have a way of exposing every scuff on the baseboards and every dingy patch on the ceiling, so completing the surrounding surfaces is what turns a cabinet job into a whole-room transformation.
The usual sequence is to repaint the walls in a color that complements the new cabinet tone, refresh the trim and doors in a clean, durable finish, and freshen the ceiling, which quietly brightens the entire room once it is no longer yellowed from cooking. Coordinating these choices together, rather than piecemeal, is what gives the finished kitchen a cohesive, designed feel instead of a collection of separate projects.
Because kitchens take more abuse than most rooms, the wall and trim products matter. A washable, scrubbable finish on the walls and a tough finish on the trim hold up to splatters, steam, and constant wiping far better than a basic flat paint, which is a small upgrade that pays off for years in a room this busy.
Fixing the drywall hiding behind old cabinets and past leaks
Once you start refreshing a kitchen, the walls often reveal issues that were hidden for years. Removing an old backsplash, relocating an outlet, or simply prepping around the cabinets can expose gouges, old anchor holes, or torn paper where a previous project was patched badly. None of this is unusual, and none of it needs to derail a refresh, but it does need to be handled before paint.
Kitchens are also where past leaks leave their mark. Water stains under a window, soft or discolored drywall near the sink and dishwasher, and old repairs that were never finished properly all show up when the room gets a close look. The right fix depends on the cause: if there is any active moisture, the source has to be addressed first, then the damaged drywall is cut out, patched, taped, sanded, and primed so it disappears under the new paint rather than telegraphing through it.
Folding drywall repair into the same visit as the painting is the efficient way to handle it. The crew is already prepping and coating the room, so patching cracks, filling holes, and blending repairs adds little compared to bringing someone back later, and it means the whole wall finishes even, with no dull patches or flashing where the compound was.
Durability in a humid Georgia kitchen
A kitchen in the Marietta area has to stand up to real heat and humidity on top of everyday cooking. Steam from the stove, moisture near the sink and dishwasher, grease in the air, and constant hand contact around handles all work against a finish, which is why product choice and prep matter more here than in a low-traffic bedroom.
On the cabinets, that means a cabinet-grade, moisture-tolerant finish applied over a properly degreased and primed surface, so it resists the daily wiping and the humidity swings without softening or peeling. On the walls, a washable, scrubbable finish shrugs off splatters and lets you clean without dulling the paint, and the right trim finish handles the bumps and cleaning that baseboards and door casings take in a kitchen.
Ventilation helps the finish last, too. Running the range hood while cooking and an exhaust fan if the kitchen has one keeps steam and grease from settling on freshly finished surfaces. Combined with quality products and thorough prep, that is what keeps a refreshed kitchen looking sharp for years rather than months.
Timeline, cost expectations, and extending the refresh
The timeline for a cabinet-and-paint refresh is measured in days, not the weeks a remodel demands. The exact length depends on the number of doors and drawers, how much drywall repair is needed, and dry and cure times between coats, but most kitchens move through prep, priming, spraying, and repainting the room in a matter of days, and you often keep partial use of the space along the way.
On cost, the honest answer is that it varies with the size of the kitchen, the number of cabinet doors, the condition of the walls, and the finishes you choose. What holds true across the greater Atlanta area is that a refresh typically runs a small fraction of a full remodel while delivering most of the visual impact. Rather than trust a phone quote, the reliable path is an in-home walkthrough where someone can count the doors, check the wall condition, and give you an itemized estimate.
Because kitchens flow into other spaces, it often makes sense to extend the refresh a little further. Carrying the new wall color and refreshed trim into the adjoining dining area, the hallway, or an open living space ties the whole home together and avoids an abrupt line where the fresh paint stops. Bundling those adjoining rooms into the same visit spreads the setup and cleanup across more work, so it is usually the better value than coming back for them later.
How to get an accurate estimate
A trustworthy estimate for a kitchen refresh is itemized and in writing. It should separate the cabinet refinishing, the wall and trim painting, and any drywall repair, and it should name the specific products and finishes being used rather than just saying paint. That detail is how you compare options fairly and know exactly what you are paying for.
Be cautious with a firm price quoted over the phone before anyone has seen the kitchen. The number of cabinet doors, the condition of the boxes, hidden drywall issues, and how far you want to carry the refresh into adjoining rooms all move the price, and none of them can be judged sight unseen. For most kitchens across Marietta, Smyrna, and the surrounding Atlanta metro, a short in-home walkthrough produces a far more accurate quote and avoids surprises on the final invoice.
Frequently asked questions
- Can I really update my kitchen without a full remodel?
- In most cases, yes. If the cabinet boxes are solid and the layout works, refinishing the cabinets and repainting the walls, trim, and ceiling modernizes the kitchen for a fraction of a remodel, without demolition or weeks without a kitchen. Replacement only makes sense when the cabinets are failing or the layout has to change.
- How long does a cabinet-and-paint kitchen refresh take?
- Most kitchen refreshes are measured in days rather than the weeks a remodel takes. The exact timeline depends on the number of cabinet doors, how much drywall repair is involved, and dry and cure times between coats, and you can often keep partial use of the kitchen while the work moves in stages.
- Will painted cabinets hold up in a humid Georgia kitchen?
- When cabinets are properly degreased, sanded, primed, and finished with a sprayed, cabinet-grade coating, the finish stands up to daily handling, steam, and Georgia humidity for years. Thorough prep and the right moisture-tolerant product are what keep it from softening or chipping early.
- What if there is drywall damage or an old leak behind the cabinets?
- That is common and usually straightforward to handle in the same visit. Any active moisture source has to be addressed first, then the damaged drywall is cut out, patched, taped, sanded, and primed so it blends in under the new paint. Folding the repair into the paint project keeps the whole wall looking even.
- Should I refresh the adjoining dining room and hallway too?
- It is often worth it. Carrying the new wall color and refreshed trim into the dining area, hallway, or an open living space gives the home a cohesive look and avoids an abrupt line where the fresh paint stops. Bundling those rooms into the same visit also spreads the setup and cleanup, so it is usually a better value than coming back later.
Related services
Serving
Ready for an exact price?
Get a free, no-pressure in-home estimate. Real numbers for your home, not a phone guess.